Grout can either make or break your tile design. Depending on the look you are going for, the color grout you choose can really make the tile pop, or make the whole design flop. Many customers tell us, “Just pick any grout color you think will look good.” Now luckily, we at Gotham Tile have years of design and sales under our belts, but some contractors may not have that experience and/or eye for design. Trends change almost as quickly as the weather these days, but there are few designs that are timeless. But what if you wanted to make changes, but you don’t want the headache of major demolition? You do have the option to re-grout if you choose to keep the same tile.
Picking the right type and color
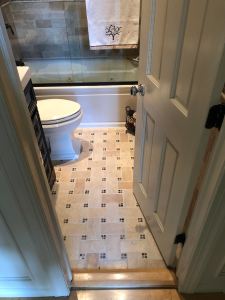
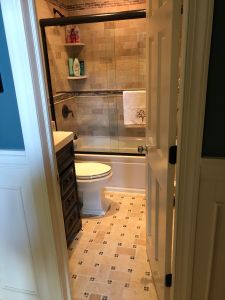
Grout comes in two different types, sanded and non sanded. You will need to use non sanded grout on smaller grout lines, 1/8″ or less, and if you have a glazed tile. You run the risk of scratching the finish on a glazed tile if you use the coarse, sanded grout. For larger grout lines and matte finished tiles, you will use sanded grout. Picking a color can be a daunting task. Do you go with something that blends? Or do you go with something that makes the tile stand out? We would suggest either or, depending on where this tile is going and what kind of tile you choose. If you are going with large format tiles on the floor or the walls in a smaller room, we would recommend a contrasting color to make the tile pop. If you are in a larger, open space such as a basement floor or living room floor, it may look better if you go with a similar color to the tile. Another color choosing tip, you may want to go with a darker color grout in higher traffic areas as they tend to attract more dirt over time. A smaller area such as a back splash, you would want to try to pop the tile again with a contrasting color. Wood plank tiles look amazing with a similar color to the tile. It gives an endless look to the planks. Makes sure you give your project a more finished and complete look by installing a matching grout caulk for your corners.
Installing your grout
The most important tool during the installation process is the float. We recommend using a Gum Rubber grout float, as they tend to hold up better over time than a traditional rubber or foam float.
- Mix the grout according to the manufacturer instructions and be prepared to work small areas at a time.
- Hold the float at a 45 degree angle and press the grout into the spaces and fill in the space evenly.
- Change your angle to closer to 90 degrees and remove all the excess grout.
- Wait 10 minutes or so to give the grout a few minutes to harden. If you don’t wait long enough, you may end up pulling grout out during the wiping process.
- With a CLEAN damp sponge, wipes the tiles with light pressure, being careful to not pull out any grout.
- Move to the next small area and repeat the steps.
- At the end of the install, go over the entire floor with a CLEAN damp cloth to remove any haze that may have built up during the sponge steps.
Tip- keep the sponges, water, and cloths as clean a possible throughout the installation process to limit the haze buildup to a minimum.
What if my grout is faded/stained/cracking/chipping?
You can always remove grout. It is not an easy task, as it needs to be removed by a diamond blade or a carbide grout removal blade for a oscillating tool. When you decide to re grout, you need to remove enough of the old grout for the new grout to take hold. Otherwise you can end up with the new grout popping out. It is a time consuming project as each grout line needs to be drilled out. Another option is to try an industrial degreaser with a stiff nylon brush, or a deep steam clean. Most home improvement stores have steam machines you can rent, instead of purchasing one or paying for the service. Whichever method you choose, the end results are incredible. It gives the appearance of a new floor, or walls, while keeping the same tile.


How often should I seal my grout?
Depending on the type of traffic your tile gets, would determine how often you should seal your grout. In higher traffic areas, we recommend every 6 months. In lower traffic areas, you could get away with sealing every 2 years. Areas such as a shower enclosure will be exposed to moisture on a regular basis, so it may pay to seal this more often to keep mold and mildew out of the grout lines. Make sure to follow the manufacturer directions before applying your sealer, as certain finishes need special care when applying sealer. There are some grout manufacturers out there that have a sealant mixed into the grout during the mixing process, prior to the install, or already mixed in as it is premixed in a bucket for you. MAPEI makes an acrylic grout that does not need to be sealed.
Hopefully we covered all the bases you need to make a DIY install that much easier, and any decisions that much quicker. Remember to be safe!
Thanks for stopping by Gotham Tile!
